That’s so very nice.
That’s an excellent first attempt. Good job!
That looks great! I wish your wife many years of successful potting on that table.
FWIW, I have been woodworking for about 25 years and your points 3, 4 and 5 apply to everything I have ever made. How else do we learn?
Thank you, everyone, for the compliments.
Things I learned:
- I learned how to make table legs.
- All of the wood is 11/16 inch thick. The mortises are ½ inch (8/16) inch deep. You have to be careful when you’re chiseling out the bottoms to make them square(ish).
- The Gorilla Tape around the drill bit marking the half-inch point gets pushed up. You need to be careful about that unexpected 3/16 inch when you’re drilling the corners of the mortises.
- Pay attention to the kids getting your wood… especially when you want two 2x6 sheets of OSB and one 2x4 sheet of OSB, and you have to draw them a picture.
- Don’t be in a hurry to get your materials. I knew they had better wood for the slats, but I was distracted by the lumber kids and they pulled plain, cheap, pine slats. I used oak for the facing boards, and hemlock for the crosspieces. I should have used similar wood for the slats. Better to find a place with a wider selection of materials.
- I should have assembled the frame (facing boards and crosspieces) first, then stained them. It would have kept stain out of the mortises.
The table isn’t as stable as I’l like it to be, because the legs are 26 inches long as opposed to the 12-inch legs it’s supposed to have. The Wife insisted on a higher table. It’s ‘stable enough’, and I screwed the bottom of the legs to pressure-treated 2x4s to help. I will be good enough for flower pots and such. Just don’t sit on it. If necessary, I can attach the 2x4 sheet of OSB to the legs with U-clamps. But that wouldn’t be attractive. (If I were an artist, I could paint some flowers on it, like on this house. But I’m not an artist.)
I’ve been too busy staying on top of a kitchen redo to do any significant DIY lately, but now that the project is finally done DIY has restarted.
Touching up little things in the new kitchen. This morning I lightly sanded the wood floors just beyond the kitchen & foyer and did a light touch-up with stain. It looks much better, though far from perfect. Eventually we’ll have professionals come in and refinish the LR & DR floors. No hurry though.
I’m working on a drawer organizer for the flatware and serving utensils. Custom made to fit our stuff will be nice in the long run.
I may modify the spice rack to give room for over-sized spice containers. My wife doesn’t want a larger spice rack which was my first thought.
I’m also half way through turning an oatmeal container into a round tower for D&D. Overall pretty simple. The upper floor is currently gluing up. If everything holds, next is painting it. This will be my 4th of these I believe.
Next week a metal framed gazebo with a soft top will arrive. Assembling that and securing it should be a fun project. That was also waiting on a nearly dead maple tree to come down that had to wait on the Kitchen Project. But as both are done, I ordered the gazebo yesterday.
My research and experience pointed to the frame supports holding up better then the single supports, so that is the type I ordered. Bonus is you get corner shelves for drinking this way.
Ha! This is why I absolutely could never “furniture flip”. Over a month later and I’ve re-designed the thing to hold coffee and sodastream stuff. It was too unbalanced and the legs, though cool, were cheap and flimsy. The wash I did on top came out blotchy and ugly. AND the shelves are too warped to be held in by friction vertically.
Removed the legs, added some bulk in the back with 2x2s, sanded, filled holes, sanded, sanded, filled holes, sanded, filled holes and dents, sanded, painted. And that pine 2x2 STILL looks terrible. Now, over a month later, I’m trying to get the paint job perfect. I’ve got the time because it’s supposed to rain every day for the rest of the week, so the major power sanding removal of the blotchy wash and stain it and the (rattle can) spraying of the top coat is at least a week away.
There’s no way these people “flip” furniture in 3 days. It takes longer than that for all the layers of primer, paint and finish to dry!
There are some 1 hour primers. I love that stuff. So in theory, it just might be possible to do a 3 days flip.
Absolutely have to do a good job on the paint and use a high quality paint. Rust-Oleum has a line of furniture paints. I do very well with that. I’ve been able to redo fan blades and put them back up in 28 hours.
A full dresser took me only 4 days to strip down and repaint and it took a day and half to strip that sucker using a heat gun. It had 20 layers of paint on it going back to the 1950s. It was in my family forever and my parents didn’t get it new. Wait, I misspoke a little. 2 days after finishing the surface, I changed the knobs out for new handles. If they had been on hand though I would have been done in 4. (This was 15 years ago, I probably wouldn’t get it done as fast now.)
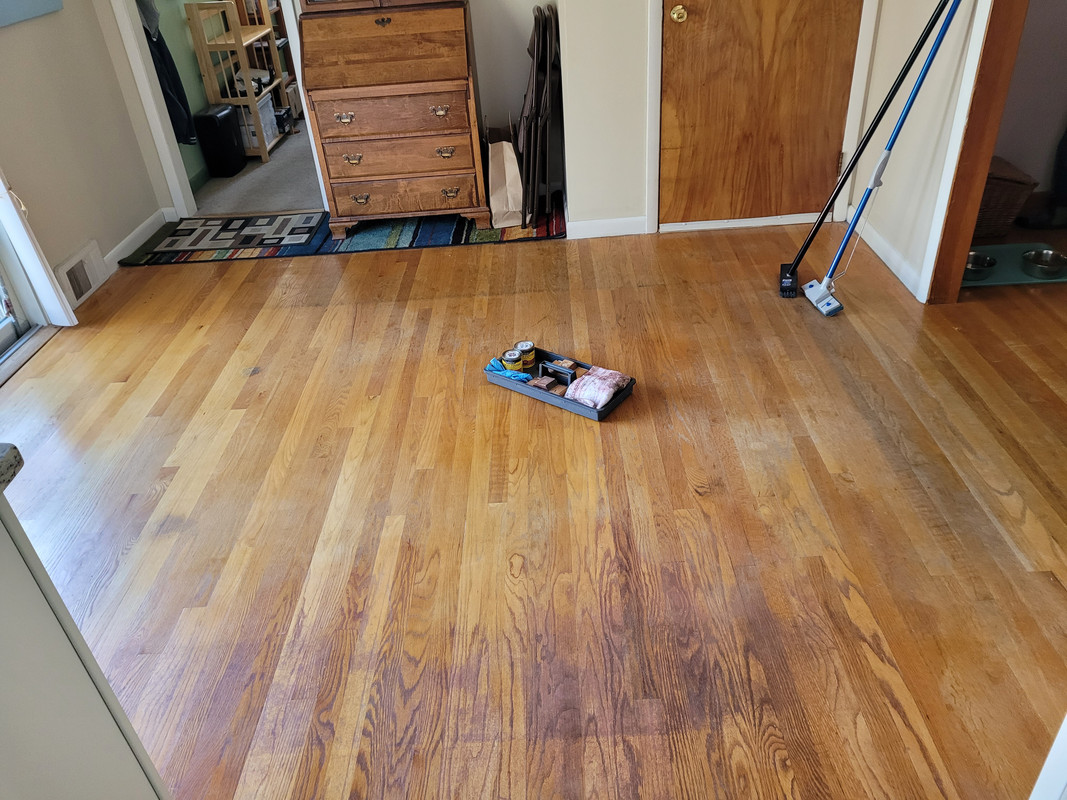
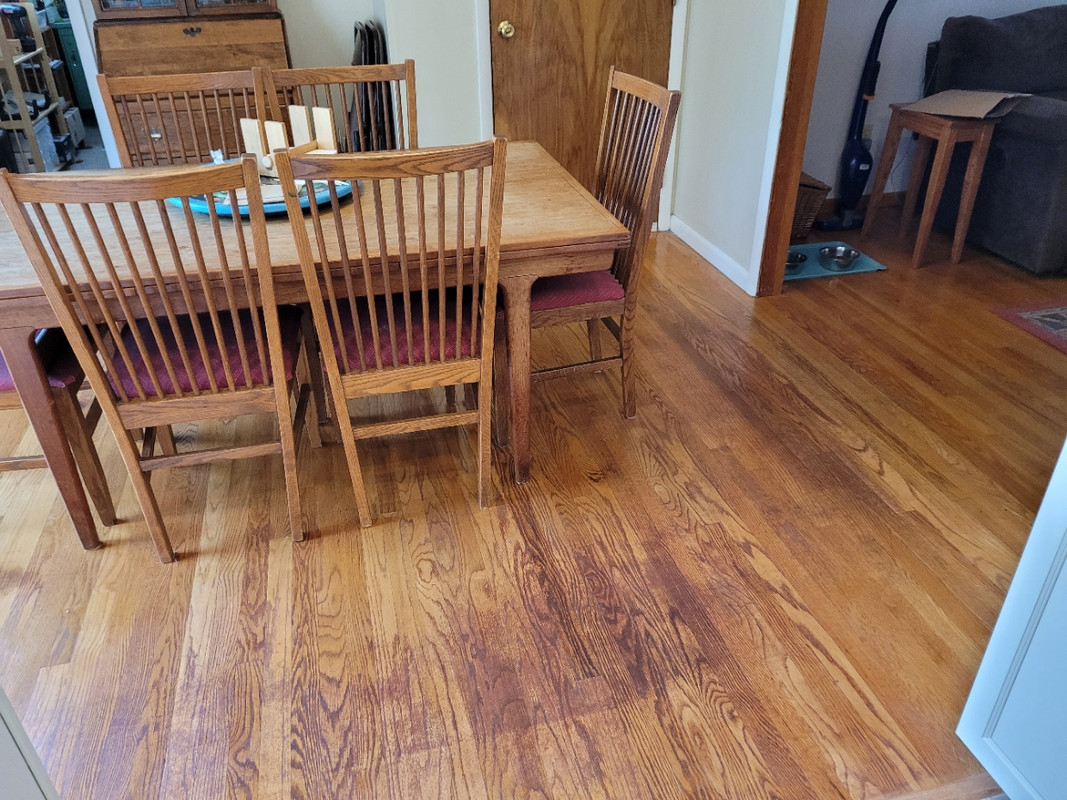
I did a minor refinish on my Dining Room floor.
Cleaned it, sanded the bad spots, mopped again and stained. Buffed, buffed again later. touched up still bad spots and buffed.
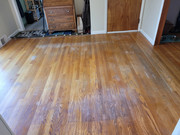
Click pics for full size.
 …
… 
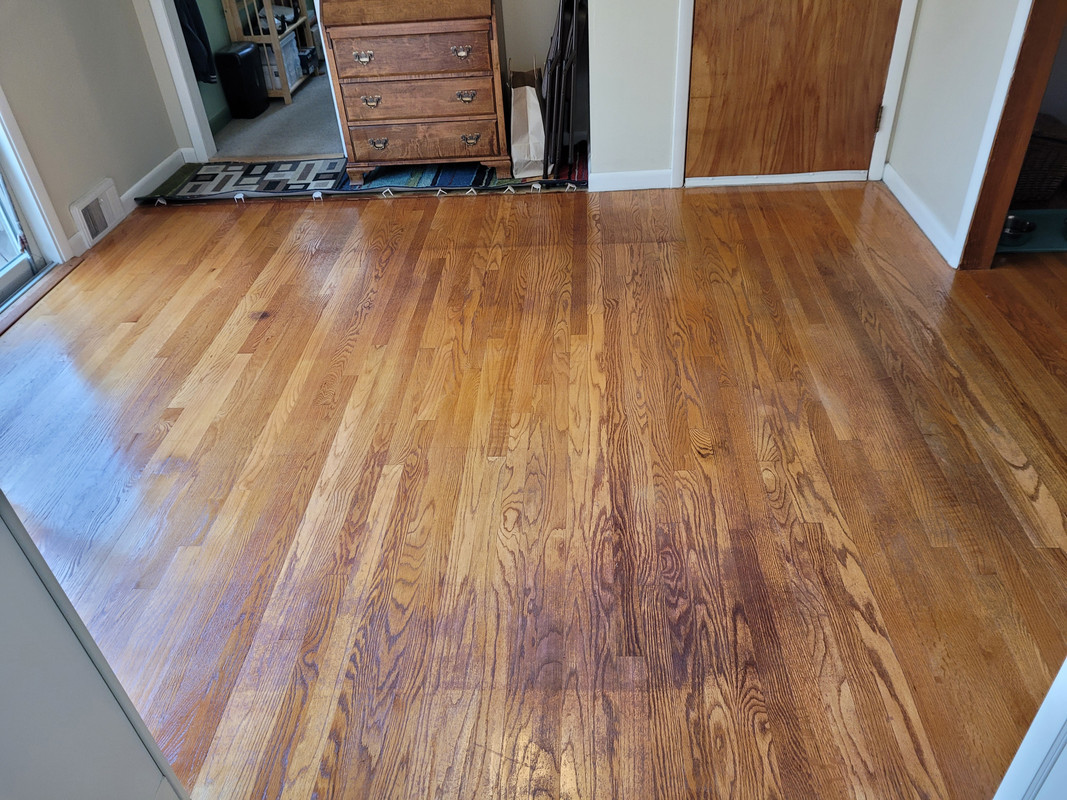
Next is a little wax.
Done, at least for now.
It’s finally time to complete my Pandemic Project.
In early 2020, just about when Lockdown began, I ordered a set of castings from a place called “Tiny Power” and spent the next several months happily machining bits of bronze into steam engine parts.
Eventually I arrived at that annoying part of every project, where all of the low-hanging fruit is gone and all that remains are tedious tasks and issues to be resolved, so I put it all away.
Now I’m going to make an effort to get this steam engine running!
As usual, there were plenty of problems along the way–the biggest issue was when I found an air bubble in a crucial part of one of the bronze castings for the steam cylinders. I contacted the vendor for a replacement and never got a response, so I decided to make my own steam cylinders instead from cast iron bar stock.

These little oil cups were fun to make, though it’s aways easier to make one than it is to make a half dozen matching parts.

Here’s the aforementioned cast-iron cylinder replacement:

Steam chests: one partially done and the other complete

Assembled cylinders:

Almost-complete steam engine, with reversing mechanism attached:

The biggest hurdle I face now is fitting everything. When you make one of these little engines, everything is way too tight and needs to wear in. I will need to go through everything and do things like flap out the cylinder bores and axle bearings, as well as make sure the valves operate smoothly.
I also need to put all of the packing in the pistons, piston rod glands, and steam chest valve glands. Tedious stuff, but it all needs to be done to bring this to a close.
That’s some nice work!
I’ve done some woodworking, but never any metal work, and I stand in awe of machinists who can make things like this steam engine. Very impressive.
Thanks for the kind words…It’s just like woodworking–do progressively more complex projects over time, while spending progressively larger amounts of money on tools. The skills of a woodworker and of a machinist both come from the same fundamental mindset.
That said, woodworking machinery scares the snot out of me: woodworking machines are constantly plotting a way to rip off a limb.
I did the last bit for the Kitchen Project yesterday. I wanted a better organizer for the flatware. I couldn’t find quite what I was looking for, so I made one that snugs in perfectly.

Fairly simple, some router work. 1 brad per board. free standing in the drawer. Does the job nicely. Pretty cheap to build.
I’ve wanted to build a tiki bar space for awhile. Been keeping my eye out for an actual bar that would work or could be customized into one. Then on our local “Buy Nothing” group, someone posted that their neighbor had just put this old bar out on the curb… It was a perfectly size bamboo front tiki bar…that someone had decided to use as a paint easel?
We got it home and the entire top of the bar, most of the back and some of the front was covered in paint. I’m currently sanding and scrapping trying to get the many many layers of paint off of it. The top is 90% done. The drawer fronts and shelf doors I will probably just chuck as the layers of paint will be even harder to remove that what’s on the top and front.
Score! Have you tried a chemical stripper? If the paint is layers deep, I’ll use the very eco-friendly QCS. It’s not as quick acting MAX or even Citristrip, but soooo much less noxious. And it cleans with water. You may still have to sand and strip but it soooooo much easier.
Though many, many really hate chemical strippers but you may be able to save the drawers.
I used the Citristrip spray–which is supposed less noxious. Ill look into QCS–thank you.
FINALLY DONE!!! All it took was 2 months.
In my defense there was a total re-model, a family vacation and sweltering, suffocating heat in that time. Here is the pine bookcase before (sans the shelves that became the dividers), front and back. I wanted it to be viewable from all sides.


Please ignore the two months worth of mess behind it, thanks.
Old Fence:

New Fence:

Old Broken Gate:

New Fence to Replace Gate:

Both fences are supported by wooden tabs so that they can easily be lifted out and moved out of the way. I was going to put a gate next to the house but the slope of the ground made that impractical without lifting the gate high enough that our dogs would be able to escape under the gate.
An actual white picket fence. Good work!
Made real progress on the bar. Still have work to do on the back side.