Painting miniatures, but extremely lazily? (As in tabletop games)

I recently Kickstarted a detective-noir board game set in New Orleans (The Dark Quarter — a fun and well-written co-op mystery game!), which came with several dozen gray plastic miniatures.

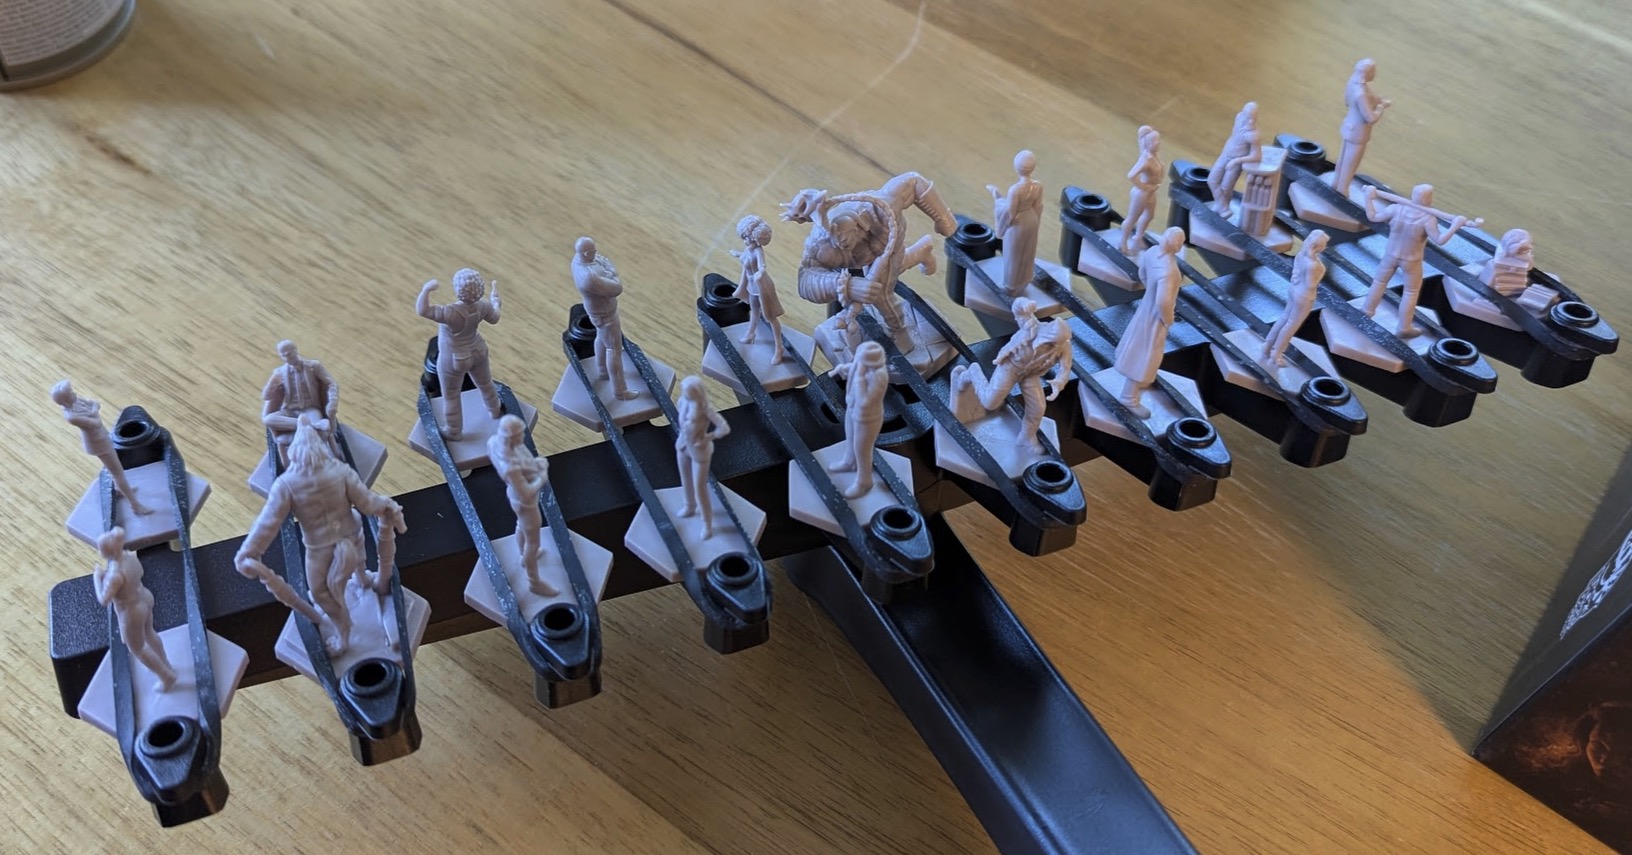
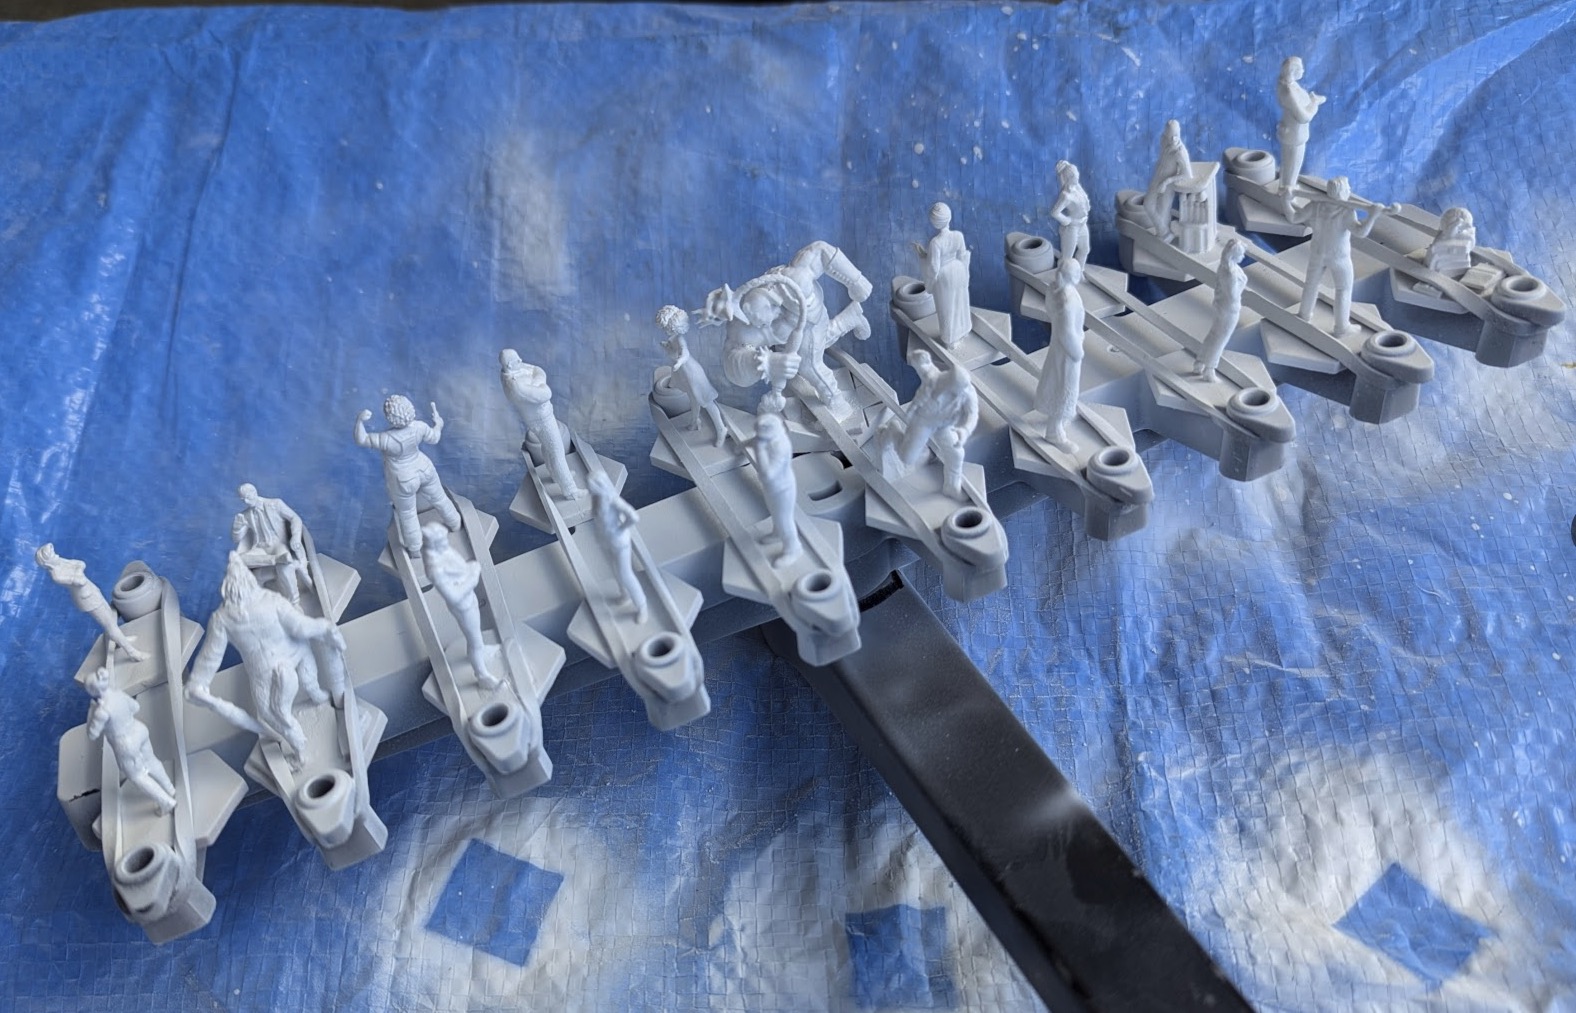
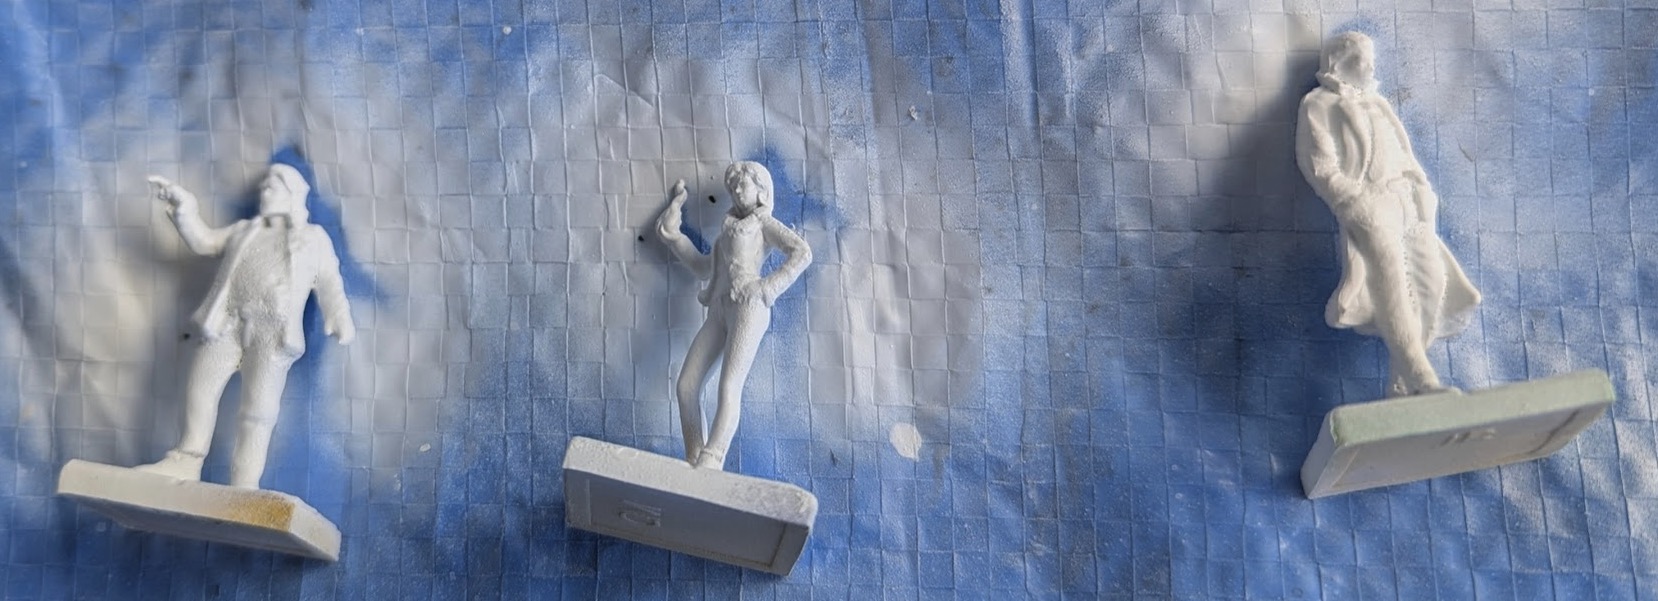
The figurines are hard to differentiate at a glance, mostly being gray humanoids standing in generic poses, like this:

I’d like to paint them to better aid in visual differentiation, but… I’m really, really, really lazy. The old primer + multiple layers of brushwork + weathering + varnishing techniques that I see on YouTube seem to take hours, if not days, per figurine. They come out beautiful, of course, but I don’t need something quite that beautiful or time-consuming. Ideally I’d like to spend no more than a few minutes per figure.

Are there easier techniques and tools these days? Seems like there’s some companies now making acrylic markers that can paint directly onto the plastic, no primer needed, like AK’s Real Colors Markers: https://ak-interactive.com/product/special-box-rc-markers-34-units/

That’s much much approachable than having to use standard paints and brushes and palettes and all that. But those are very expensive.

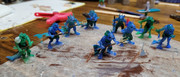
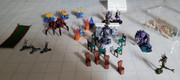
In a pinch, I tried out the Sharpie Creative Markers, which are cheap acrylic markers. Some of the colors actually paint very well onto the plastic directly, while others just drip off and require multiple coats for a still-flawed finish.

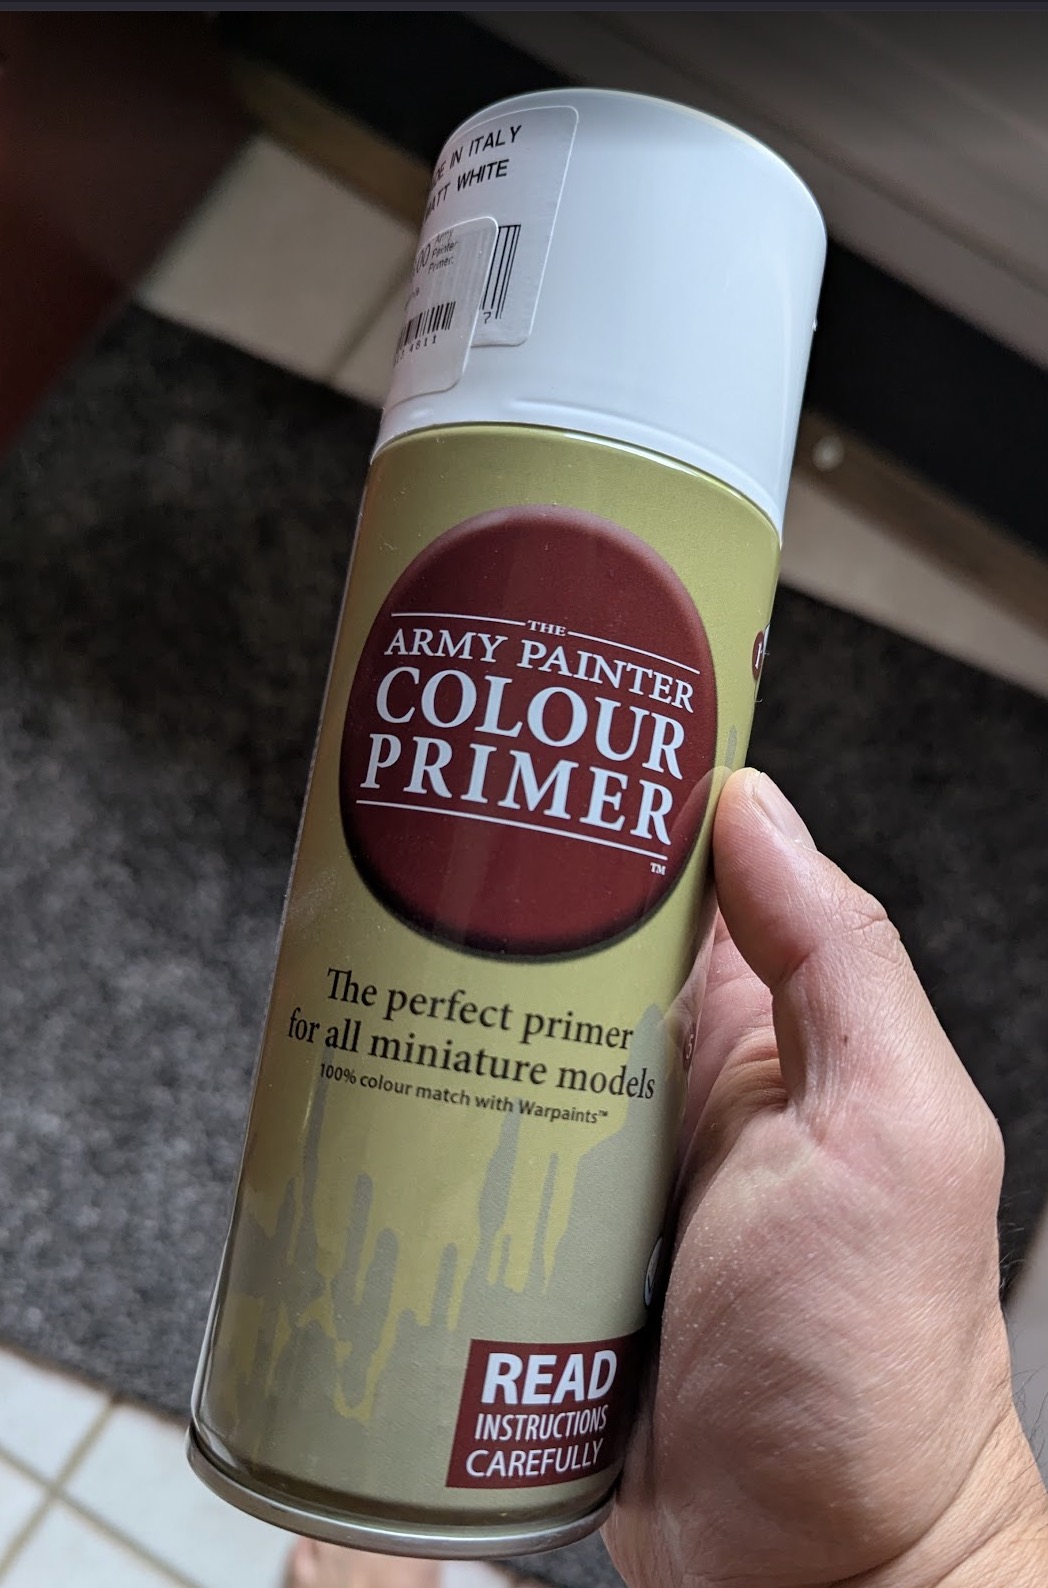
I wonder if just doing a quick primer layer would make them more paintable, or if the AK markers are truly that much better (in terms of chemically being able to adhere to raw plastic better).

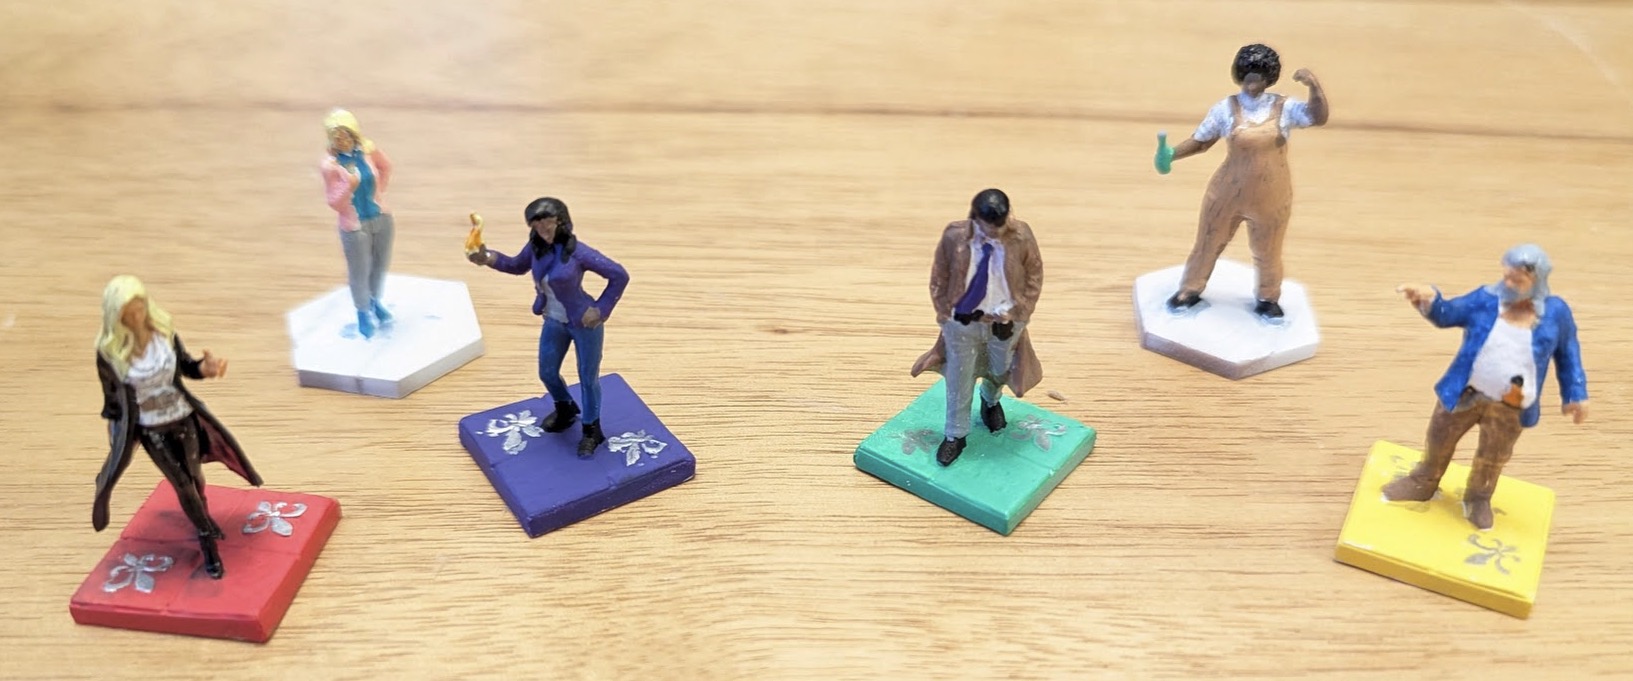
Or, any other suggestions for quick-and-dirty paint jobs? They don’t have to come out as masterpieces, just individually recognizable (like in the official paint guide).

It’s my first time ever painting miniatures of any sort, so it’s not a high bar I’m setting for myself :slight_smile: Just about anything would be better than the gray blobs.

Primer would likely help make sure the markers adhere, yes.

In the early days of the Web, one of the sites I followed was the personal website of Sean K. Reynolds, who was a game designer for Wizards of the Coast. He had a couple of articles (probably long lost to time now) where he talked about quick-and-dirty mini painting, using Sharpie markers.

IIRC, those would have been metal minis back then, but the same premise probably holds: priming them first is necessary.

Great, seems like an easy thing to try! Any suggestions as to a particular kind of primer… spray-on, paint-on, etc.? It’s my first time doing any of this.

Spray primer is probably just fine, as long as you have a ventilated space for it, and allow the minis to dry from the primer before you mess with them. Just remember, light coats, and keep the spray moving back and forth. You don’t need a thick coat of primer for it to work.

Also, I’m reading a few websites about priming plastic minis, and you may want to wash your minis with soap and water first, and let them dry, to make sure that they don’t have any remaining chemicals or anything on the plastic.

When I painted minis, I used both a special primer for them (probably from Citadel/Games Workshop), and just regular old Krylon or Rustoleum primer; I used the latter two when I was making model rockets, as well. Both are likely safe for those plastic minis, but you may want to try spraying a mini that you don’t care as much about first, just to make sure.

Why worry about realism at all? Just make each one a different solid color, like a green army man.

I agree with all this.

I would also add that a sealant should be applied once all the painting is done. You can find spray-on enamel (clear, matte enamel) at most hobby stores. This will protect the paint from being rubbed off during use. Of course, wait at least a day, maybe two to be sure the paint is completely dry and I hope it goes without saying this is the very last step once all painting is done.

ETA: Also consider assembly-line painting. For example, don’t do one figurine at a time. Do all of them where the same color is used. If you were to, say, paint all the bases dark green then do them all one after another so it is the same paint color and same brush and only one cleaning stuff afterwards. Rinse and repeat where you can.

For quick and dirty, no need to prime or seal.

I just came up from upstairs, painting my unpainted figures (plastic, resin and metal) with acrylic paints. Make them distinct with quick painting and add a code to the base like Ms B for Ms Babette. Rex for Rex, DS for Dread Saturday, etc.

I have thousands of figures, some we primed, most we didn’t. We sealed very few.

Example of quick and dirty Sahuagins that I printed. click for larger picture.

Mix of fast and dirty and a few were detailed oriented and many layers and primer first. The flail snail got a sealer, but more to add extra shine.

AKA “grease”

I’m a fairly avid miniatures painter and I’m pretty good at it. I’m not going to win any major awards of course, but I can put out some stuff that looks pretty good. You’ll be happy to know that various companies make a type of paint specifically for those of you who don’t want to put in a lot of time. Different companies all these paints something different.

Citadel Paints - Contrast Paint
Army Painter - Speed Paint
Vallejo - XPress Color

These paints are designed in such a way that when applied the color is darker in the recessed areas and lighter in the raised areas. It kind of gives you the illusion of depth. I haven’t used Vallejo’s XPress Color, but Army Painter’s Speed Paint line is fairly decent and relatively inexpensive. I’d look into Speed Paint tutorials on YouTube. You should also definitely use primer.

Here’s a little guy I painted a few weeks ago mostly using Army Painter speed paints.

And here’s one more. These miniatures are from a board game called Zombicide. I used Army Painter Speed Paints because I was experimenting with them at the time. These miniatures look…okay. But I just wanted to get something that looked halfway decent that didn’t take a lot of time and effort. So I’m happy with the results.

I really should’ve paid more attention to this sentence :sweat_smile: They ended up all looking like the Michelin Man…

From this…

To this…

Lost all the detail and texture… whoops

That said, the primer made a HUGE difference. None of the colors ran off the figurines anymore.

Well, I was just trying to find the optimal ratio of effort in vs results out… trying to maximize beauty per unit of fucks given :slight_smile:

Ended up spending about 10 minutes priming them, thick enough to be body armor, and then an additional 10 minutes per mini painting them.

Pretty hideous, lol, but slightly better than the grey blobs.

It’s still quite a lot of effort. The priming, especially, was horrendously toxic :face_vomiting: Probably lost a few billion brain cells. The painting is also really hard on the back and eyes… I could barely see the details to begin with, much less paint them with a fat, felt-tipped market. Lower back hurts now from bending over so much. I gotta find a more ergonomic set up, maybe some watchmaker’s claws…

Ah, still, for $30 in markers, they’re at least more visually interesting now than the gray blobs I started with. 6 down, 30 to go… :face_exhaling:

Back in the day, we had the “dip” method. You’d quickly color block paint the figurines with bright colors then physically dip them into a can of wood varnish (I used Polyshades Tudor; also you can use a brush to paint it on just count the brush as a loss). The varnish pools into the cracks and crevices and creates shadows, darkens the colors overall and, when it dries, creates a thick seal to protect the figures when they’re rattling around inside a box or bag. Hit them with a can of Dullcote at the end so they’re not shiny from the varnish.


I was hoping to avoid having to use jars of paint that I’d have to use brushes with, clean up afterward, etc. Nothing wrong with that — it ends up looking much better, I’m sure — I just don’t really have the time or motivation to be that detailed. It seems like they do make some refillable markers that can be used with Speed Paint (and probably others), but the overall expense of that would be hundreds of dollars worth of paints, rather than the $30 or so for the Sharpies or the $100 or so for the AK Real Color Markers.

I wish there was some store I could go to where I could rent their paints and studio by the hour. It’s (probably?) not a hobby I’ll do more than once or twice a year, if that.

That’s incredible! How long did that take you? It looks really, really nice.

The Zombicide figures look great too! And good idea using the plastic cups (and tape?) as stands.

Your painted miniature always looks better than your unpainted ones. Any time I sit down to play a game, I always appreciate it when someone took the time to paint the figures.

A dip can go a long way towards adding some nice variation to a miniature. I used an oil wash for this one. Before the wash was applied, the colors were very, very basic and flat. The wash really helped bring out some detail and add some interest.

That’s understandable. If it’s not a hobby you’re going to enjoy then it’s best to steer clear of making a bunch of purchases. Do you have any friends to paint? I’ll sometimes paint miniatures for my friends when they ask. Though I might not ask if I had a lot of them to paint.

I painted the crab man in less than an hour using the following steps.

  1. Primer white.
  2. Applied off white base coat.
  3. Stippled on some Army Painter Speed Paint Orange.
  4. Stippled on some Army Painter Speed Paint Red.
  5. Applied black to the eyes.
  6. Applied brown wash to figure once dry.

Slapchop method and speed paints (with some metallics on trim afterward):

Google Photos

Citadel contrast paints; prime black, then apply a directional spray of a white from the direction of “the sun” to give a natural shadow effect to your mini; then lay on your color blocks, finish with decorative bits!

Not sure why I’m not allowed to embed media in posts when it is hosted elsewhere on a secure site…

Have your considered Citadel Contrast Paints, or your local equivalent? They’re not Space Marines!