Raccoons are excellent climbers. But they can’t climb up steel flashing, and they can’t jump vertically.
Cats are excellent jumpers. They simply jump up & in.
Raccoons are excellent climbers. But they can’t climb up steel flashing, and they can’t jump vertically.
Cats are excellent jumpers. They simply jump up & in.
You could probably adapt the system butchers use: vertical strips of clear vinyl that slightly overlap. Like vertical blinds but more substantial.
It worked just fine. Nice job. It almost looks man cave-ish. Add an easy chair? Small fridge? TV? I’d never go back in the house.
This is my finished quilt that is hanging in the Omaha Quilter’s Guild annual show right now:

Beautiful!
Got any close-ups of the quilting?
it is still hanging at the show. I will get a close up when I get it back tomorrow. Meanwhile here is a picture of the quilting in progress:

Dude, that is stunning! I am stunned. 
This is the back:

and the front:

My ex’s aunt and grandmother were huge quilters. Entering them into competitions and all that. They were so excited when they finally bought their own quilter so they wouldn’t have to send them out to get that done. (Side note, that’s when I learned what ‘quilting’ actually means*). Unfortunately they never quite got up the nerve to try it out for themselves. They were too worried about breaking such an expensive machine. To the best of my knowledge, I don’t think they ever used it and I’m assuming it was sold after grandma died. Too bad, I was really excited to see it in action.
*For those that don’t know, my basic understanding is that ‘quilting’ is essentially that stitched pattern running across the top that keeps the whole thing together. It’s what @LH75 is doing in that picture a few posts up.
There’s at least one shop around here that has such a machine that you can rent time on, so you’re still doing it yourself rather than “sending it out”, but without having to buy the whole machine.
We rent time on a machine at a local fabric shop for $20.00 an hour. The machines are very expensive. Also, we do not have a space in our home large enough for one
3 day project to protect my rockers. 3 old rockers that are 28 to 50+ years old.
Cleaned them off and brought them down to the shop.
Sanded and tightened with wood glue.
Today I brought them to the garage after blowing out all the dirt from the garage. Put them on a drop cloth and proceeded to give each 2 coats of Teak Oil. Cost of project about $10 of teak oil leaving enough for another round in the future. Maybe $1 of sandpaper. Probably 5 hours work.
Clean, sand and then apply the Teak Oil.
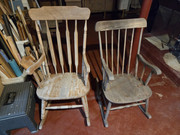
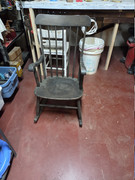
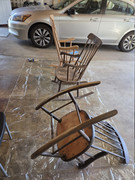
Drying in the garage and now completing their drying back on the front porch.
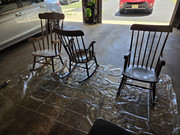
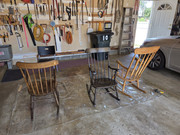
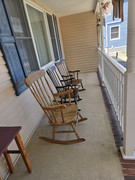
The 2 smaller darker rockers were respectively my Mother’s and My Aunt’s/Grandmother’s chairs. The larger, light colored one I bought for my wife for our first child.
Sitting outside is a little rough on them, but that was 6 years of wear and hopefully the teak oil holds up better.
Kudos to you for not just “preserving” them. They’re meant to be sat on, and I’m sure your mother and grandmother would be sad to hear they were just in storage or something.
Nicely done!
Haven’t read thread - no idea if the following has been posted:
(Link for scale modelling thread from MPSIMS)
Cross-posted from Game Room:
(love doing this every June)
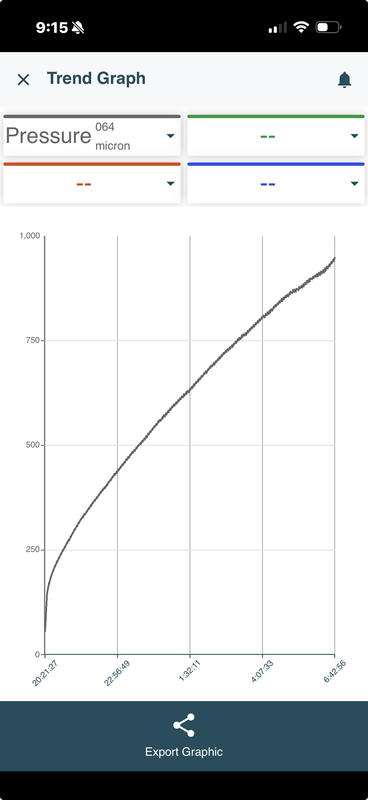
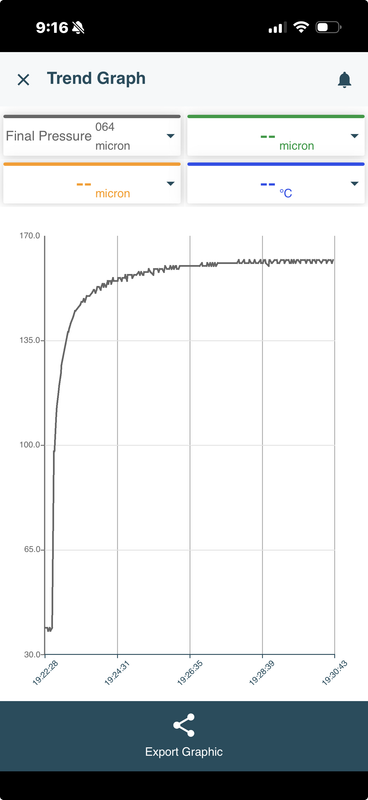
After the success of installing a mini-split heat pump in the master bedroom of the poky house, I decided to try tackling installing a whole-house heat pump, in place of the existing gas furnace. This required disconnecting the gas supply (yikes!), taking down the return plenum, and removing the furnace. Then I had to build a platform to adapt the new air handler to the old down-flow supply plenum. I wanted to re-use the old return plenum, but it was too far off from the dimensions of the new unit, so I had a local company make a new one to my specifications. They were pretty reasonable ($200). I mounted the outside unit on small poured concrete pads, and then ran the copper lineset through a hole I drilled in the wall. I paid a local electrician to install three new breakers and run new conduit and install disconnects for both the indoor and outdoor units. I wrecked the first run of 3/4” copper (a $200 mistake) by bending it by hand. I wanted to have a nice, gradual bend, but I should have just used my tubing bender. When I was adjusting the position of the tubing, I creased the line and put a hole in it. It took 4 days to get new tubing shipped up here. When everything was connected, I pressure tested, and it held pressure, so I started to do the evacuation, but I was getting really inconsistent results. I could pull a really low vacuum, but when the vacuum pump was valved off, the pressure would rise, and not stop, indicating a leak. Sometimes it seemed like it was going to work, but it never leveled off (the pressure should rise to the vapor pressure of the remaining water in the system and then stick there). This is a graph of the pressure rise overnight:
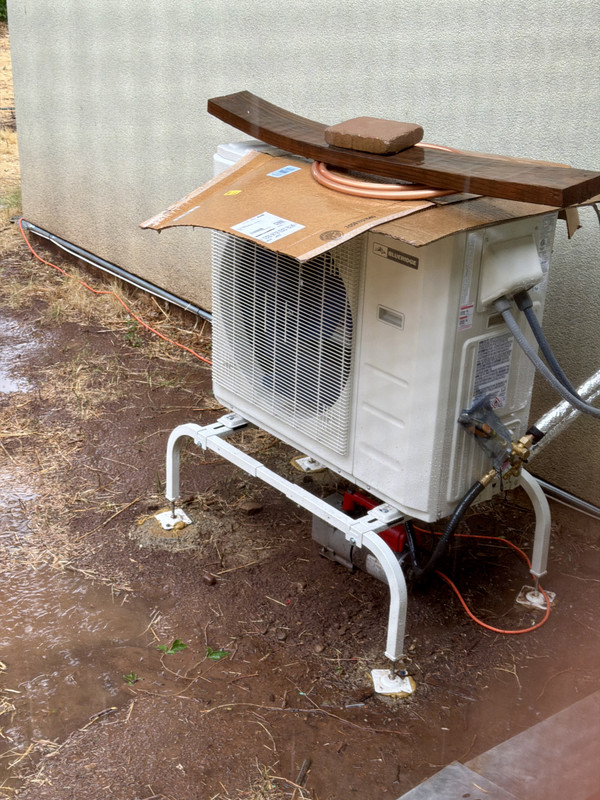
I finally gave up and started to troubleshoot where I might have a leak. I made sure all the flare fittings were at the right torque value, and then decided to start simplifying the system. I removed the isolation valve from the micron gauge, and pumped the system down, and - it held vacuum. I installed a different isolation valve, and confirmed that it still held vacuum, so I let the pump run almost all day (including during a torrential rainstorm - here it is hiding under the unit and some cardboard to act as an umbrella:
After dinner, I valved the vacuum pump off, and watched the pressure. It did a textbook rise to 165 microns, and then leveled off, so I closed the isolation valve and released the refrigerant.
Here is the final install:
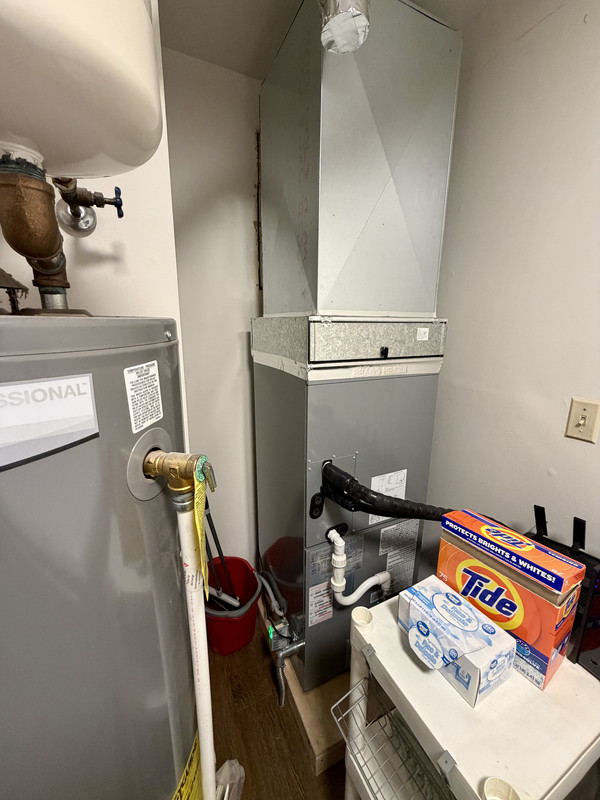
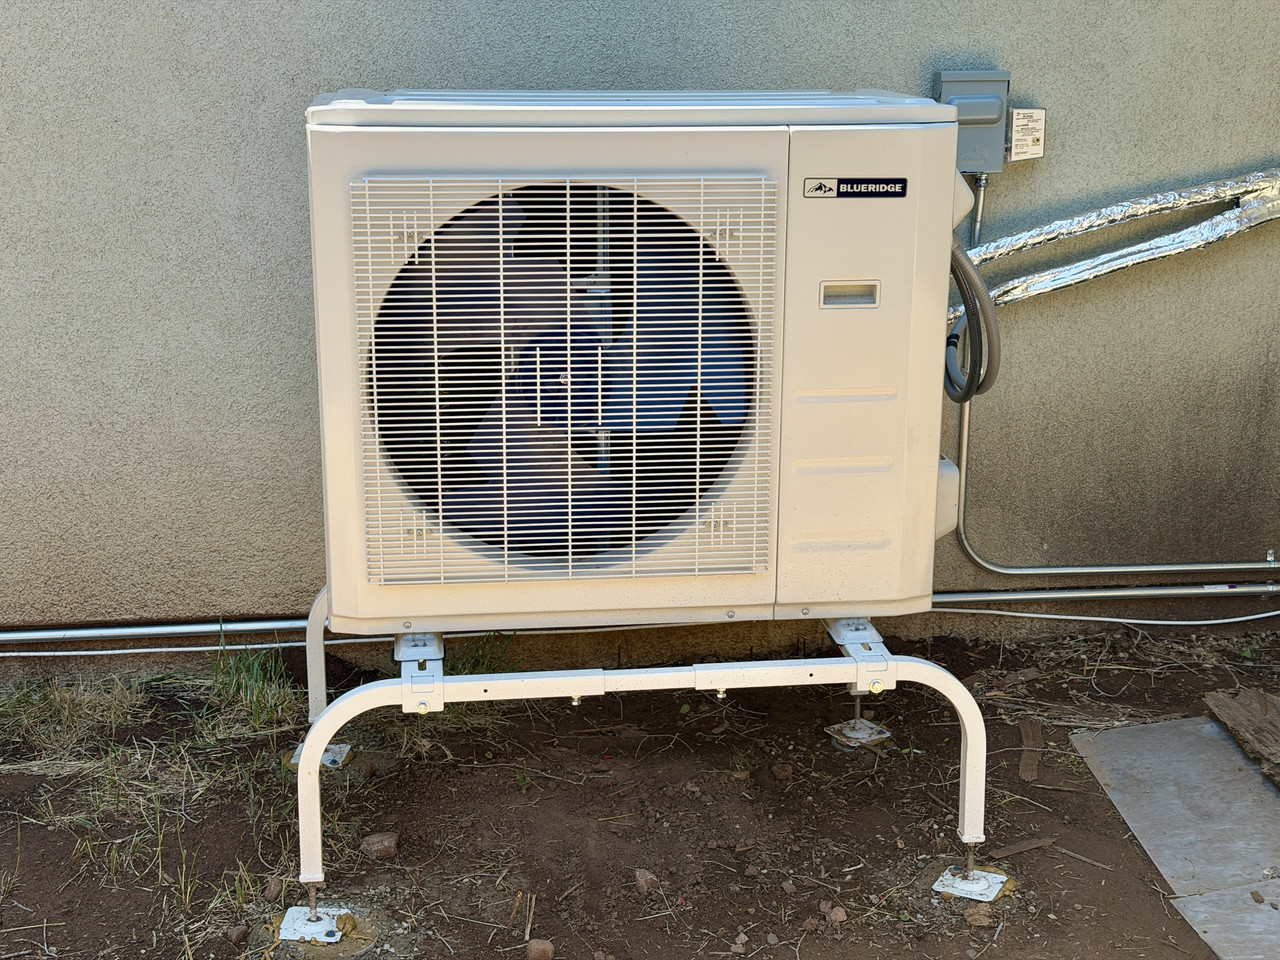
I turned on the system, set up the new thermostat, and set it to cool, et voilà- It worked!
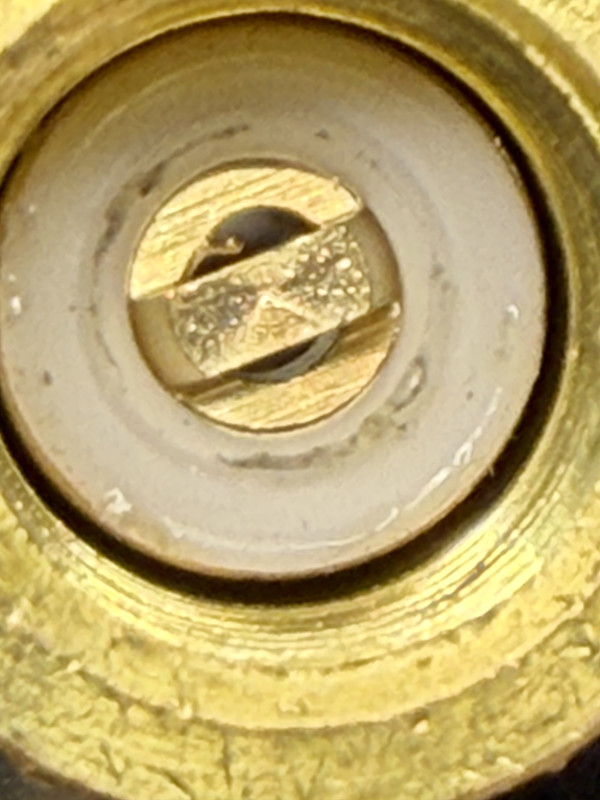
Curious as to why the isolation valve leaked, I looked at how it was made, and determined that they used a Teflon gasket, which was a bad mistake. Most HVAC gear uses Neoprene, which deforms to create a gas-tight seal. Teflon is too hard. You can see pieces of brass stuck to it here:
I gave them a bad review on Amazon…
Have you (or anyone here) seen the quilts at the Minnesota State Fair? That’s what got me hooked.
(No, wait, hooked is for rugs… anyhow, can’t wait 'til Labor Day-ish for the fair!)
will repost… can’t seem to get the images to show correctly.
Been awhile since I have posted, here are two recent projects. The first is a refurbishment of a General 480 jointer, based on the serial number it’s from the mid 1990s, I think that was nearing the end of when General was manufacturing in Montreal.
The colour here is off with the lighting in my shop:

This is closer to what the colour looks like:

I have to find the correct cable to finish the wiring, and, of course, after putting every thing together I found a spare set screw…  Which is not good… set screws keep spinning things spinning in the right spot or keep rigid things rigid… so that needs to be fixed
Another project which was a quick vacation day task, a new anvil stand:


I have been off this week, so the blue air compressor you see in the anvil stand background has already been torn apart and will be rebuilt as a vacuum press for future veneering projects… you may or may not see an updated in the next 12 months